Monday, September 14, 2009

Aim and Shoot... Pictures, Pictures, Pictures

This drives me nuts... how about you????

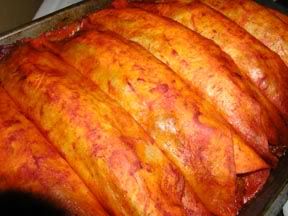
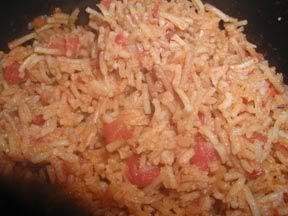
Before diving into the enchilada sauce. I spent the afternoon re-taking pictures for my etsy shop (angelscreation.etsy.com). I got about 1/2 of my items done.

I've spent the last couple of days re-taking pictures with different lighting. Not liking any of them. Finally I decided to pack up and go outside. After we went to wally world and got some yard spray for the skeeters (yes, they are awefull here).

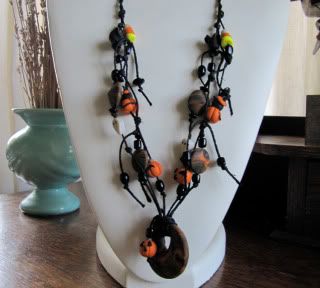
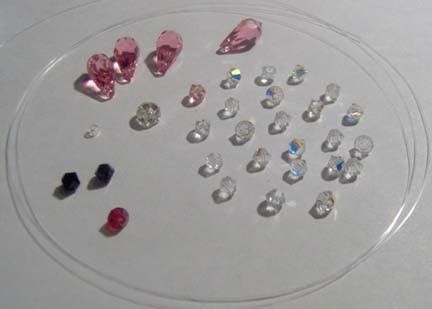
I was happy with the outdoor pictures. Once I get caught up, it shouldn't be so bad. Taking the pictures outside. If I can just get in the habbit of taking them when I finish something and not letting my creations pile up first.

Please feel free to comment and tell me... Do you take your pictures outside or use lots of lights inside? I've been looking at one of those photo cubes for indoors. Do you use one of those? Oh one last thing, what megapixel is your camera?

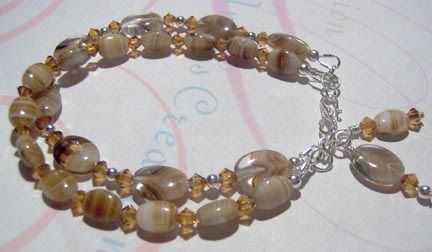
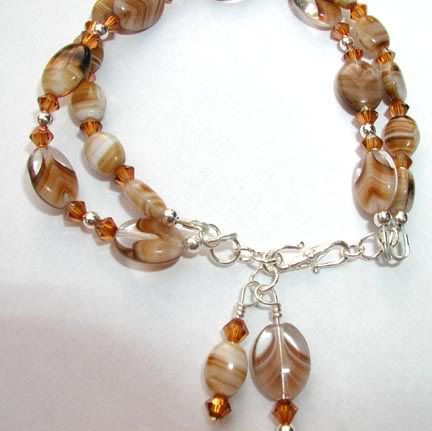
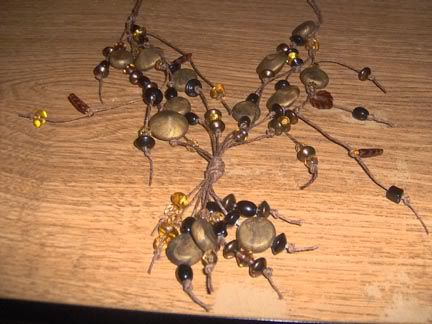
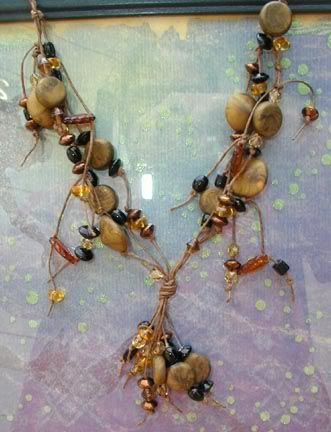
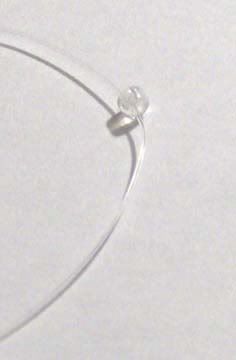
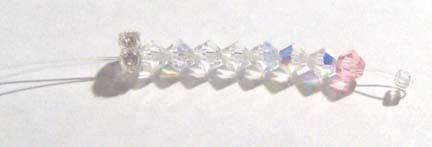
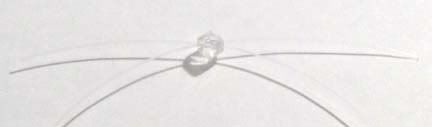
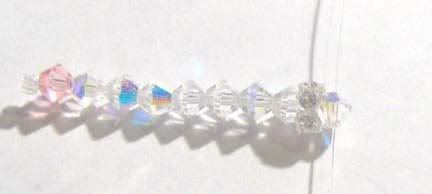
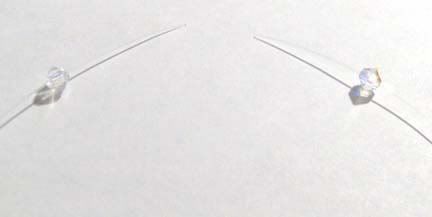
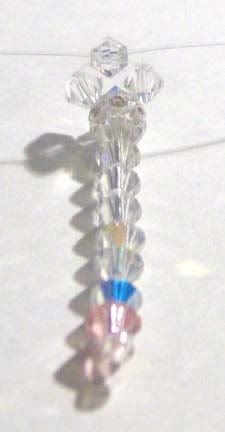
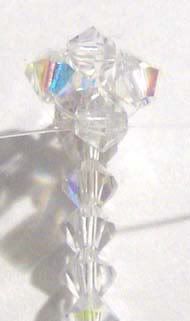
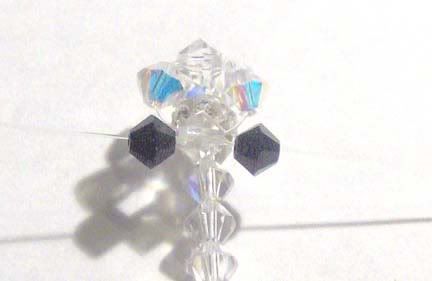
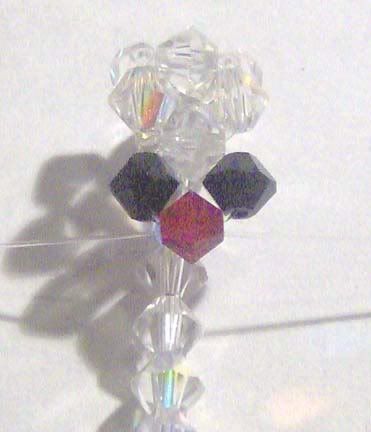
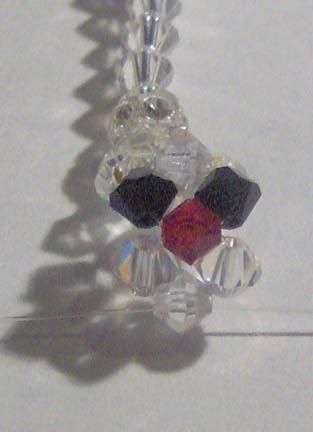
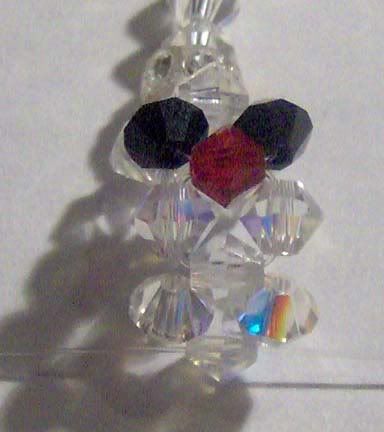
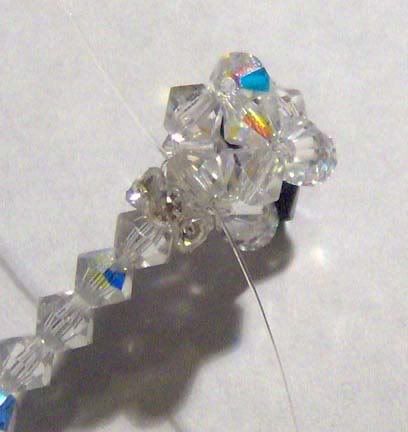
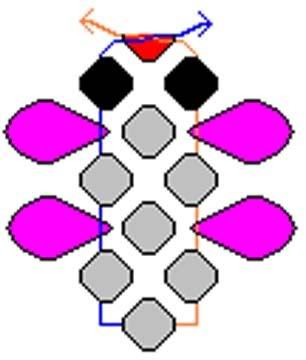
Here are some of my befores and afters. BIG difference :-)


Enchilada Dinner

What a night... Enchilada dinner always takes up time. I can't just make a few. I always have to make at least 2 dozen. Tonight I made ground beef w/cheese and plain cheese inchiladas and made 1 dozen of each.


And rice...


This takes about 1 1/2 - 2 hours to make. Mostly prep work.

Here's the completed job...


And 10 minutes later...


Sooooo much work for such little time... Oh but it's well worth every savory bit :-)

How to make these: (1 dozen)
1st. Brown your ground beef (about 3 lbs). Drain any grease. Place in a large mixing bowl. Add maybe 1/2 cup of enchilada sauce to taste (enough to flavor how much beef you use). Add the shredded cheese. Mix all together. Set aside.

2nd. Add one large can (28 oz) of enchilada sauce to skillet (large enough to dip tortilla in). Using another skillet, add enough grease to cover tortilla. Low to medium heat on both of these skillets.

Putting it all together:
Dip tortilla into sauce skillet (long enough to coat). Now dip that tortilla into grease skillet (long enough to coat). Lay on a plate and fill with meat mixture. Roll it up and place in spray coated 9x11 baking pan. You can put 2 layers in this size pan.

My shortcut is to coat and pile my tortilla's onto a plate and then do all my filling at once.

Make your own enchilada sauce (when I'm in the mood)...
Large bag of dried chilli pods. Cut open and remove seeds. Cut into large chunks or not. Put pods into a large enough pan to hold them and cover with water. Once pods are tender add pods to a blender with the water and blend them pods up. Strain the liquid into your skillet (yes strain, so you don't end up with pieces of pods... No NOT peas in a pod).

And now the punch line... LOL
After all this work. My daughter walks in from work with a bucket of finger lickin' good KFC.

Sunday, September 13, 2009

Bounties of Beads Boutique August Swap

Wow... We had a really awesome swap for August. Oh yea, for most that don't know. I'm the leader of an awesome bead group, that can be found in Ebay. Our group name is Bounties of Beads Boutique. While most of our swap creations are known before hand. In August we chose to have a mystery swap. Only partners knew about their creations and for all other swappers eyes once creations were recieved. It was up to each partner what they would like. Both my partner and I wanted something that best represented our work.

For the August swap, I was paired up with another great beader. She can be found using her name... cornerstoregoddess. She makes the most awesome charm bracelets.

Don't you just love this charm bracelet... Me too :-)


And earrings...


Knowing my partner loves my clay work and knowing she likes Halloween. Here is what I chose to make my partner, along with some extra BOOtiful beads.

Crystal Dragonfly Tutorial

Supplies:
36" fishing line (no larger than .011 dia)
23 4mm clear crystals
1 4mm pink crystal
2 4mm black crystals
1 4mm red crystal
1 6mm crystal roundell
1 clear or pink seed bead
4 6mm tear drops (or possibly 8mm)


1. String seed bead to center of line.


2. Bring both lines together and string 1 pink, 7 clear, roundell.


3. Separte lines, string 1 clear and criss cross line, so line goes in both sides and comes out both sides. Pull so crystal nestles evenly into roundell.


4. Separate line and string 1 clear to each side.


5. Repeat step 3


Picture of steps 3, 4, and 5 completed.


6. Repeat step 4,3


7. Repeat step 4 using black crystals.


8. Repeat step 3 using red crystal.


9. Repeat 4,3 clear crystals


10. Repeat 4,3 using clear crystals


11. Repeat 4, 3 using clear crystals
12. Repeat step 4, using clear crystals.
13. Separate lines and feed through each side of crystal closest to roundell. (This will pull body together against tail)


14. Separate lines and string 2 teardrops to each side.


15. Separate lines and string through each side of red crystal. (This will pull wings in and nestle into gaps on side of body)


16. String line through other crystals on body to tighten then tie off.

Wallllaaaa...You have yourself a Dragonfly.

Incase pictures are hard to look at, due to string shadows. I also made up an illustrated version.